Red Velvet Crinkle Cookies- Soft pillowed chewy centers with beautiful powdered sugar cracks creating the perfect festive cookie.
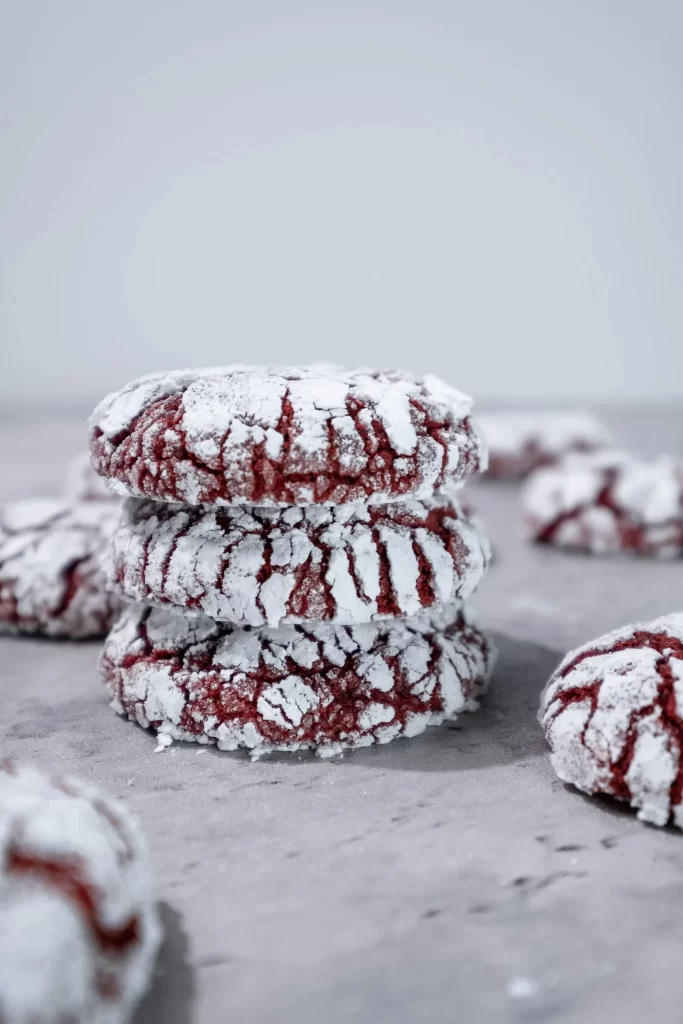
Red Velvet Crinkle Cookies, what's not to love about them? If you haven't tried them before continue reading and maybe, I'll convince you enough to try to make them.
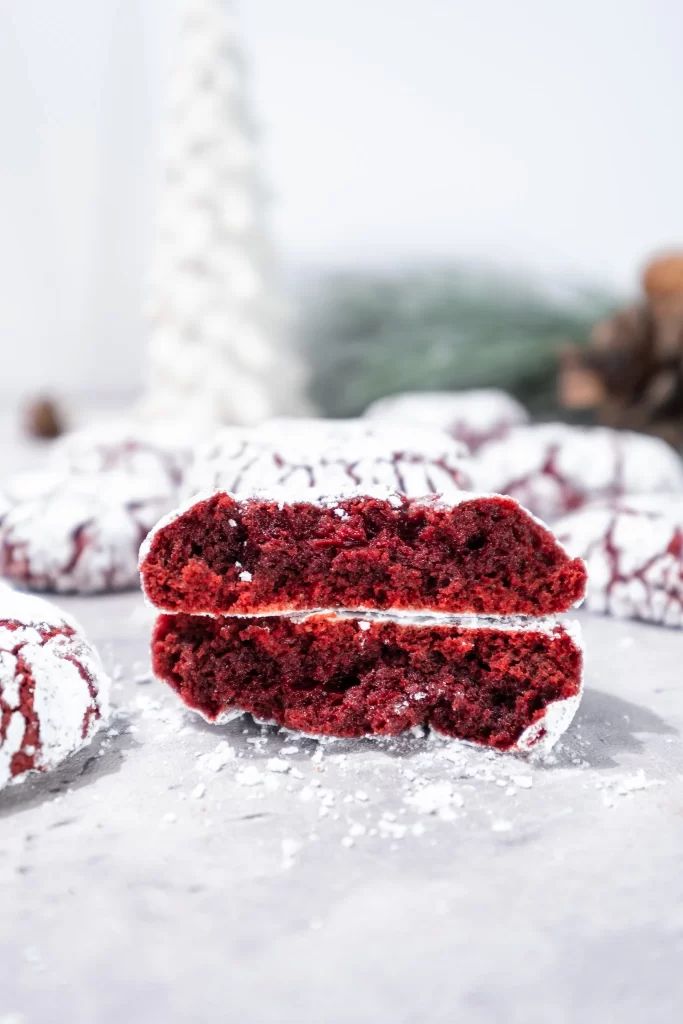
These festive red velvet crinkle cookies are the best during this time of year. They are soft chewy and are a vibrant red cookie that's perfect for this holiday season and great for a holiday cookie exchange.
I like to enjoy them with a cup of hot coffee or a mug of hot cocoa sitting down next to my Christmas tree.
Have I convinced you enough to make these yet?
Why you'll love these cookies:
- Comes together easily in a stand mixer with a paddle attachment.
- No chilling is required.
- It tastes like a powdered sugar brownie snowball that's chewy and soft.
- Great for Valentine's Day too!
Red Velvet Crinkle Cookies Ingredients:
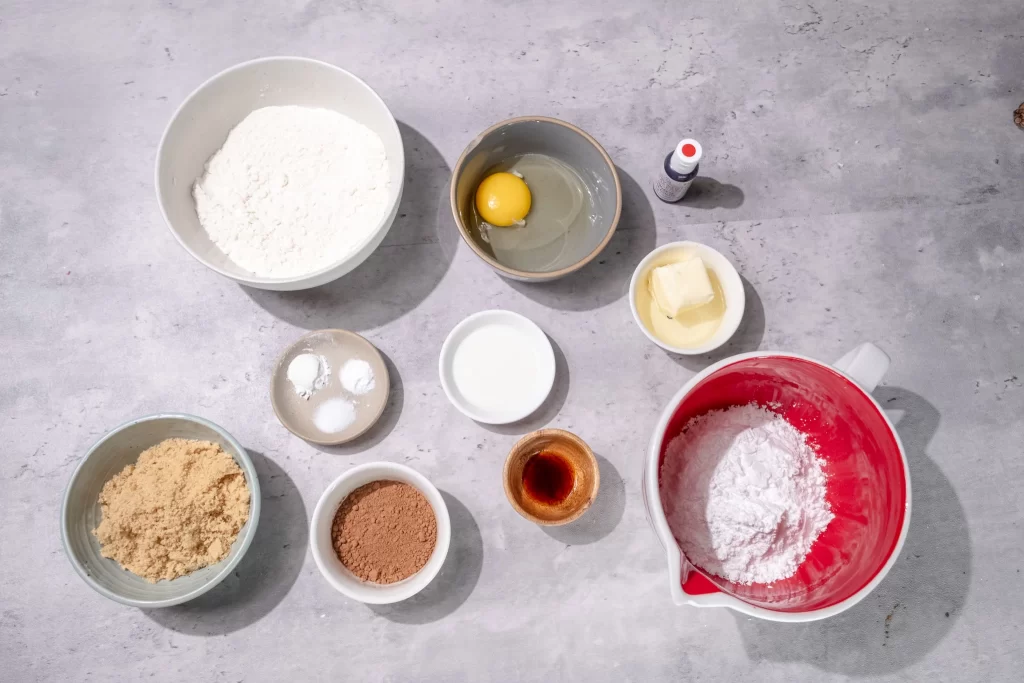
- Unsweetened Cocoa Powder: Use natural baking cocoa like Hershey's, this will allow the red to be more vibrant. If you choose to use Dutch cocoa powder, you'll end up having to use a healthy dose of red food coloring to get the vibrant red color.
- Red Gel Food Coloring: Use a gel food coloring, this allows the color to be more vibrant. Liquid food coloring isn't as vibrant and adds extra moisture.
- Powdered Sugar: Cookie dough balls are rolled in powdered sugar to create the snowball crinkle effect.
- Unsalted Butter/Oil: A blend of both is used to create the perfect texture in this cookie, I like to use Avocado oil, but any vegetable oil here is fine too.
- Brown Sugar/Granulated Sugar: Brown sugar is used to create a chewy texture and granulated sugar is used to roll the red velvet cookie dough into before the powdered sugar coating to allow it to fully stick.
- All Purpose Flour: no substitutions here.
- Baking Powder/Baking Soda/Salt: baking powder provides lift, baking soda spread, and salt balances the sweetness of this cookie.
- Egg: I always use Large Eggs when baking
- Vanilla extract: Gives these red velvet cookies just a hint of vanilla flavor.
How to make Red Velvet Crinkle Cookies:
In a large bowl cream together the softened butter and oil and then add in the brown sugar until smooth and creamy.
Add the egg, vanilla extract and red food gel. The wet mixture will look a vibrant red, but the cocoa powder will darken the color. You need to add more food coloring at the end if desired.
In a separate bowl add in all the dry ingredients and sift to make sure there aren't any cocoa clumps. Add the flour mixture to the egg mixture and then the milk and mix until just combined, remembering to scrape the sides of the bowl with a rubber spatula.
In a small bowl pour the granulated sugar. And then with a shallow bowl or plate add in the confectioners' sugar.
Using a medium cookie scoop drop the cookie balls into the sugar mixture first making sure it's fully coated and then roll into the powdered sugar. Line a baking tray with parchment paper line 6 in a tray to give the cookies enough space to spread. Bake at 350 for 8 minutes.
Allow the cookies to cool for 5 minutes before transferring to a wire rack.
Red Velvet Crinkle Cookies are best stored at room temperature in an airtight container for up to 3 days.
Tips to make perfect Red Velvet Crinkle Cookies
For best results, I always recommend using a kitchen scale versus a measuring cup. This allows you to have consistency.
Don't Overmix and overbake. It might be hard to tell when the cookies are done because they won't brown but the sides of the cookies should be firm if you just tap it on the side.
If you notice the powdered sugar disappearing right before you bake them just coat them again in powdered sugar right before baking
Crinkle Cookie Make Ahead tips:
If you'd like to prep these cookies in advance, simply make the cookie dough wrap in plastic wrap, and place the cookie dough into freezer bags. The cookie dough will be good in the freezer for up to 3 months. Thaw out the cookie dough, roll it into balls, and dip it into the sugars before baking. You can also roll the cookie dough before freezing, and bake frozen, just follow the same steps but add another 1 to 2 minutes of baking time.
If you loved this recipe, take a look at my other Christmas cookie recipes:
For More Cookie Recipes:
Red Velvet Crinkle Cookies Recipe
Ingredients
- 4 tablespoon Unsalted Butter Room Temp
- ¼ cup Oil
- 1 cup Light Brown Sugar
- 2 large Eggs
- 1 teaspoon Vanilla extract
- 4 drops Red Food Gel Coloring
- 1 ¾ cup All Purpose Flour
- 2 tablespoon Cocoa Powder
- 1 teaspoon Baking Powder
- ½ tsp Baking Soda
- ½ teaspoon Salt
- 1 tablespoon Milk
Rolling
- ½ cup Powdered Sugar
- ½ cup Granulated Sugar
Instructions
- In a large bowl cream together the softened butter and oil and then add in the brown sugar until smooth and creamy.
- Add the egg, vanilla extract and red food gel. The wet mixture will look a vibrant red, but the cocoa powder will darken the color. You need to add more food coloring at the end if desired.
- In a separate bowl add in all the dry ingredients and sift to make sure there aren't any cocoa clumps. Add the flour mixture to the egg mixture and mix until just combined, and then add in the milk.
- In a small bowl pour the granulated sugar. And then with a shallow bowl or plate add in the confectioners' sugar.
- Using a medium cookie scoop drop the cookie balls into the sugar mixture first making sure it's fully coated and then roll into the powdered sugar. Line a baking tray with parchment paper line 6 in a tray to give the cookies enough space to spread. Bake at 350 for 8 minutes.
- Allow the cookies to cool for 5 minutes before transferring to a wire rack.
- Red Velvet Crinkle Cookies are best stored at room temperature in an airtight container for up to 3 days.
- Enjoy!
Recently in my kitchen recipes:



I have tried a couple of crinkle cookie recipes and this is by far my favorite! The taste and texture is exactly how I like it! The steps are easy to follow and it doesn’t take long to make. I plan to keep using this recipe to make these delicious cookies. Thank you Jenny for sharing this with everyone! I’m looking forward to making more.
Thank you so much! I'm so glad you enjoyed the recipe!
I'm so glad you enjoyed them! Thank you so much for taking your time to leave a review.
Easy to follow and delicious results!